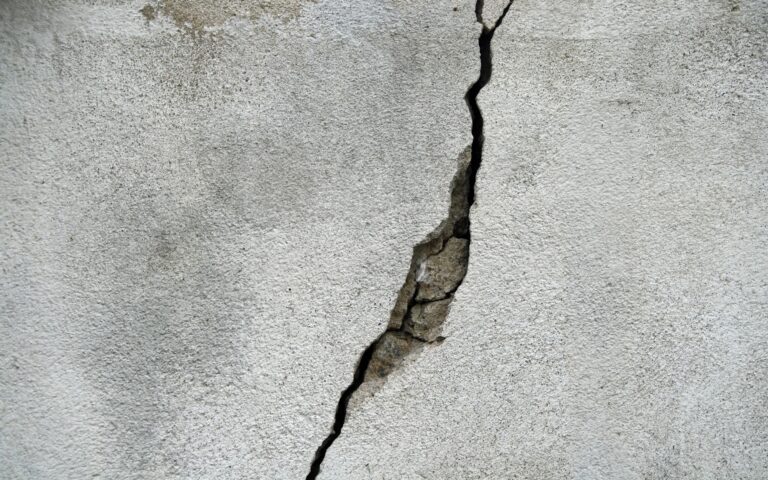
Once you have established the type of concrete crack you have, the next step is knowing how to fix it. There are several factors to consider when assessing how to repair cracked concrete. From crack width and depth to type and cause, the various factor combinations can help determine the best course of action for repair. Understanding the cause of the cracks is critical to prevent the concrete from cracking again. Once you identify the source, the next step is selecting the appropriate repair technique. Doing so will save you time, money, and energy in the long run. To help you better understand concrete repair, here’s a rundown of the five most common concrete repair methods.

1. Routing and sealing
For dormant, non-structural cracks, routing, and sealing is the most common repair technique. While this technique is optimal for flat horizontal cracks, you can use it for vertical cracks with non-sag sealants or fillers. The different materials include epoxies, silicones, urethanes, and polymer mortars. The choice of sealant depends on its flexibility and hardness properties that allow it to best adapt to the repaired surface. As sealant flexibility increases, so does its tolerance to crack growth and movement; additionally, this rise means the load capacity decreases. On the other hand, as the hardness increases, so does load capacity, causing crack movement tolerance to drop.
The routing and sealing method is relatively simple and involves widening the crack and filling it with the appropriate sealant. Although more commonly used for dormant cracks, you may use the routing and sealing method for active cracks so long as you choose a suitable filler. Before applying your sealant, cut the crack into a V-shape, then clean it to remove any excess dirt or debris. This V-shape allows for additional sealant that better expands and contracts with the movement of the concrete, thus prolonging the repair’s lifespan.
2. Injection grouting
With different types of grouts available, injection grouting is a frequently used solution for your concrete repair needs. Some injection grouting applications include reducing, filling, or repairing structural cracks, foundation settlement problems, and waterproofing walls. And a few of the various grouting materials you may find are polymer-based, fiber-reinforced, or cement-sand. (Though there are a few others.) To be precise, grout is any liquid material that can be pressure injected into a cracked or damaged concrete structure. The grout then sets in place and can help reinforce, repair, or strengthen depending on the grout used.
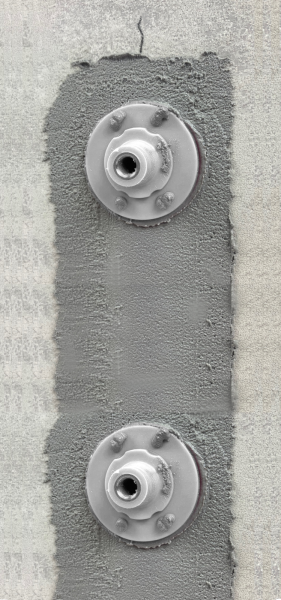
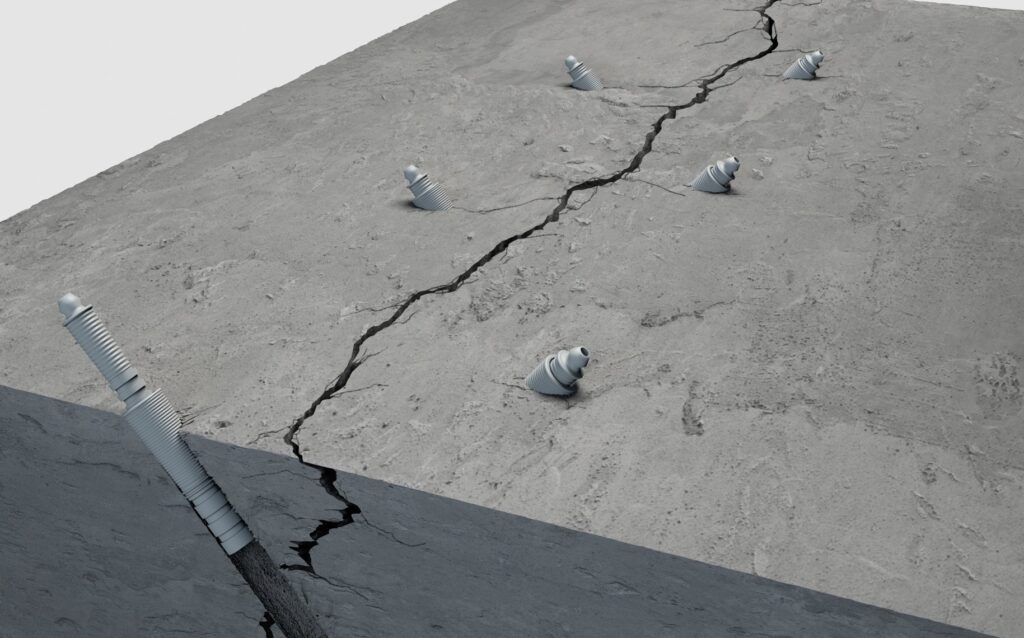
Regardless of the conditions, injection grouting often follows the same procedure. You begin by drilling holes along the crack, spaced at regular intervals. Sometimes injection or surface ports are used and placed directly on the crack rather than the drill holes alone. The distance between drill holes/ ports varies based on the crack size. Next, clean cracks and drill holes so your grout can easily adhere to the surface. If using injection ports, you can now place and seal them at the predetermined location. Seal the crack between the ports to ensure the grout does not leak. Then inject the grout into the holes or injection port starting at one end if the fissure is horizontal or at the bottom if vertical. Continue to inject grout until grout begins to appear at the next hole or the surface seal starts to bulge. Once you have finished, you can remove the injection ports and the epoxy from the surface for a clean finish.

3. Epoxy injection
One of the most common polymer-based grouts is epoxy-based due to its non-shrink properties and varying viscosities. For structural crack repairs in foundations, basements, and other concrete structures, you may want to use epoxy injection. Due to its varying viscosities, low-viscosity epoxies can repair cracks as narrow as 0.05mm. For wider cracks, you may need to use a higher viscosity epoxy. Additionally, the epoxy’s tensile bond to the concrete can restore the concrete structure to its original strength. However, before selecting this approach, you must verify that the crack is dormant and dry. Using epoxies on active cracks may cause cracking to reoccur near the original fissure. And, except for certain water-grade epoxies, most epoxies will not react and adhere to moist surfaces.
Some epoxy injections follow the previously mentioned steps. However, depending on the nature of the crack, you may need to use injection ports. (Also called injection packers or injectors.) In this case, rather than treating the fissure from the surface downwards, you are treating it at an angle, coming in from the sides. You begin by drilling holes on either side of the crack at 45° angles. After removing any dust and debris, insert injection packers with the help of a mallet or hammer. Proceed with the epoxy injection, starting from the bottom of the crack and working your way up. Once the epoxy has dried, you can remove or cut off the injector’s head and seal the holes to finish.

4. Stitching
If you need to reinforce and repair active cracks, you might want to try crack stitching. Although this method does not fully close the fissures, it does stop the movement of active cracks and may prevent spreading. Stitching is a suitable method for repairing major cracks and when tensile strength must be re-established throughout the concrete. Depending on your needs, crack stitching can be a simple solution that helps restore stability to cracked structures.
Stitching uses U-shaped metal bars of varying lengths placed perpendicular to the crack, thus bridging the two sides. The placement and orientation should be strategic so as to spread the tension across the cracked area more evenly. Stitching involves drilling a trench across the cracked surface, with additional holes into the concrete on either end. Next, insert the U-bar into the groove and fill it with grout or epoxy to anchor the ends.
5. Drilling and plugging
Another frequently used repair method for active cracks that appear in straight lines is drilling and plugging. Due to the nature of this technique, the fissure must run in a relatively straight line and be accessible at one end. You typically see this method used for vertical cracks in retaining walls.
Drilling and plugging consists of drilling a hole the length of the crack and filling it with grout or epoxy. The drilled hole is typically 2-3 inches in diameter (depending on crack width) and must follow the movement of the crack. Filling the hole with grout then creates a key, locking the crack and preventing additional movement of nearby concrete sections. The grout key may also reduce leakage that may occur through the crack.
There are always other methods you may prefer or that better suit your concrete crack repair needs. What’s important is choosing the technique that can permanently repair the crack to avoid further damage. Remember that before you try any approach, be sure to know and fix the source of the fissure for the best results. And if you are not a specialized contractor, we recommend contacting your local concrete specialist to advise you.
If you are a contractor in concrete repair, we’d love for you to try our range of injection packers. With their non-return valve, MABI injection packers can help you increase efficiency on the job.